
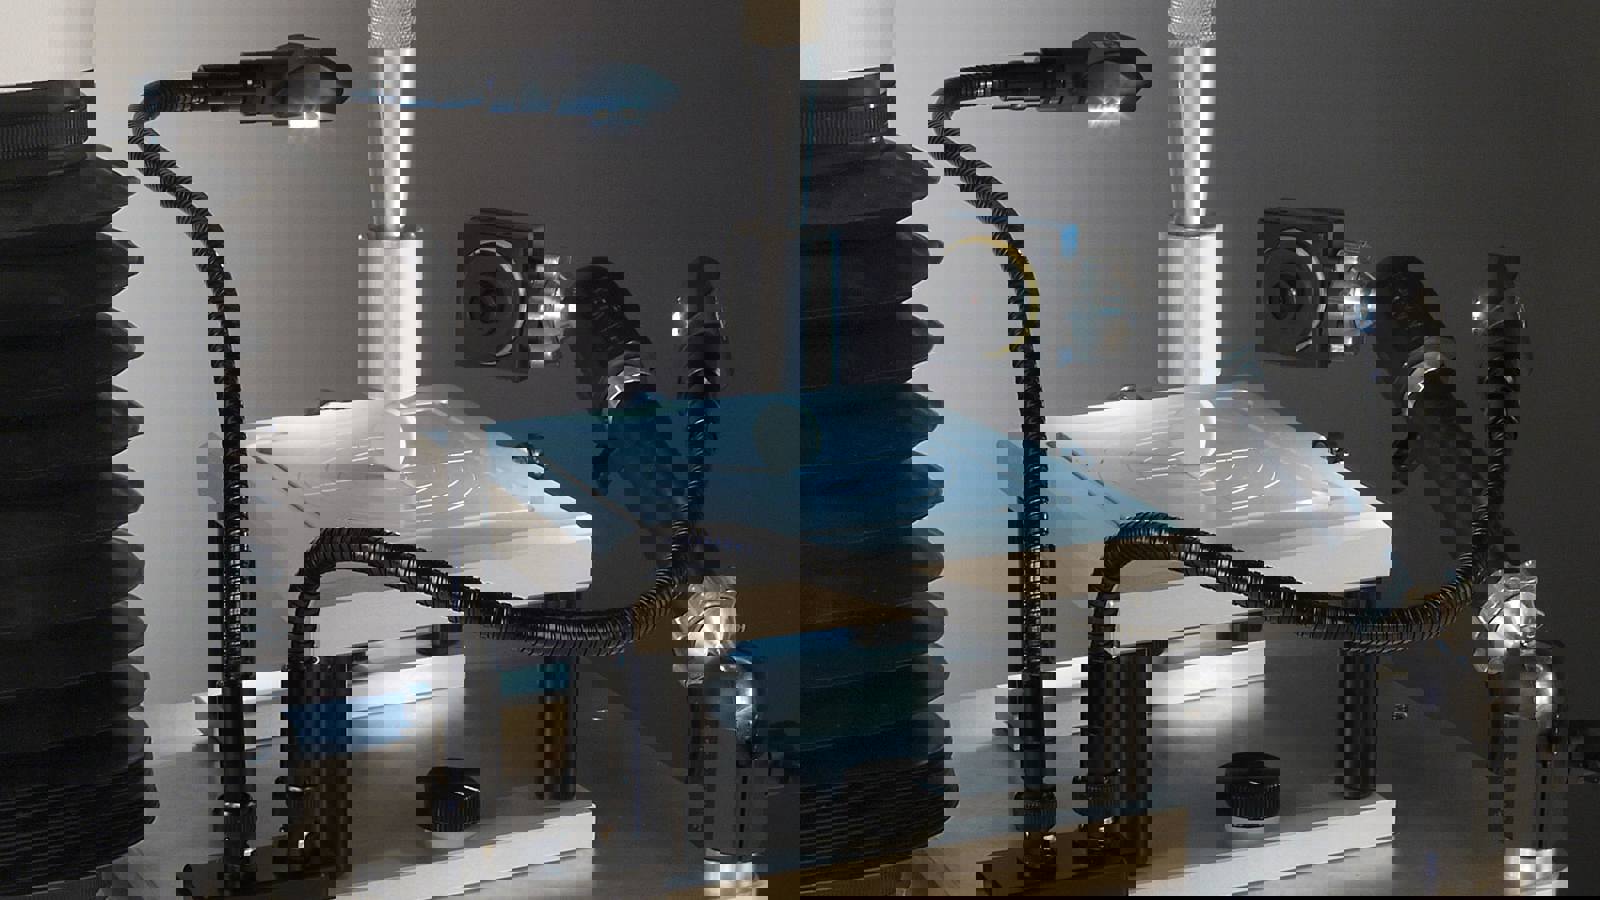


Product overview
Automatically synchronise video with force-distance-time data to replay or pause each frame of your test as your sample breaks down. This is particularly useful for brittle samples that fail quickly or where samples are limited. This is a perfect teaching tool for those looking to understand sample/material failure during any test type on your Texture Analyser and the best means of sharing your texture analysis testing to your colleagues at a later date.
Testing events can occur quickly and can be missed by the human eye. This will make sure you never miss a physical testing moment.
Advantages of this system

Record your sample testing at any angle.
See where your video ties up with graph events frame by frame.
Create a compound graph and video file that plays and pauses your data wherever you wish
Send the compound video to colleagues to watch or educate others on sample breakdown.
How it works
1. Mount the camera
Most tests capture video from above or beside the sample being tested. Other tests generate interesting results by filming from underneath the sample (if mounted on a glass platform).
2. Decide on lighting
Depending upon your sample size and testing environment you may choose additional lighting to optimise the video result. You can preview the focus and lighting on your PC before testing and take a picture of your pre-test setup to store within your project notes for future reference.
3. Record the video during your chosen test
Switch on the video capture data channel to automatically collect the video data at up to 49 frames per second within Exponent Connect software.
4. Replay your data over and over
Each frame of the video is perfectly synchronised with the force-distance-time graph that sits alongside your video window so that wherever the cursor is on the graph the video will show the equivalent point within the video so you can identify graph features with video events. Pause and play over and over to get a full understanding of your sample breakdown features and events and how they present themselves as events on the graph.
5. Export your graph and video as a compound file to share with others
The beauty of video is the ability to share testing moments with your colleagues. Exponent Connect software allows you to create a compound video of the cursor moving over the graph whilst the video plays so that others can see what happened during testing. This is the ultimate way to understand how your samples respond to stress/deformation. It can be used as part of presentations and help in training and education. The video file is saved as a .wmv file.
What's included

- Camera
- Lens
- Synchronisation cable
- USB cable
- Video plugin software USB for Exponent / Exponent Connect software
- Manual
Optional accessories

Mounting System
The system uses an adapter plate that fits between the standard fixtures.
An articulated arm attaches to the plate and allows the camera to be positioned in many places.


Lighting System
The lighting system consists of one or two LED lights on flexible arms. The arms are attached to a base that can be fixed to the optional mounting system. The power supply also connects to the base.
The LED can be directed to the desired location to provide bright flicker free illumination.

Heavy Duty Platform
An optional special HD platform with glass / Perspex plate can be used to view the underside of the product.
Technical specification of the camera
Example configuration*
| Resolution | Format | FPS | Sensitivity |
| 1280x960 | 1/3 ″ | 25 | 2.0 V / lux-sec |
| 1280x720 | 1/3 ″ | 33 | 2.0 V / lux-sec |
| 1024x768 | 1/4 ″ | 31 | 2.0 V / lux-sec |
| 640x480 | 1/5.5 ″ | 49 | 2.0 V / lux-sec |
| General | |
| Colour format | Y800, RB24, RGB32 |
| Dynamic range | 8 bit |
| Interface (optical) | |
| IR cut filter | Yes |
| Sensor specification | Micron MT9M021 |
| Shutter | Global |
| Format | 1/3 ″ |
| Resolution | H: 1280, V: 960 |
| Pixel size | H: 3.75µm, V: 3.75µm |
| Lens mount | C/CS |
| Interface (electrical) | |
| Interface | USB 2.0 |
| Supply voltage | 4.5 to 5.5 VDC |
| Current consumption | Approx. 250mA at 5V DC |
| Interface (mechanical) | |
| Dimensions | H: 36mm, W:36mm, L: 25mm |
| Mass | 70g |
| Adjustments (manual and auto) | |
| Shutter | 1/10000 to 30s |
| Gain | 0 to 18dB |
| White balance | 6 dB to +6 dB |
| Environmental | |
| Temperature (operation) | -5 0c to 45 0C |
| Temperature (storage) | -20 0c to 60 0C |
| Humidity (operation) | 20% to 80% non-condensing |
| Humidity (storage) | 20% to 95% non-condensing |
| Lighting | |
| The supplied lights are designed to be connected to and powered by an external supply of the following specification. | |
| Input voltage rating | 100V AC to 240V AC; Frequency 50/60 Hz |
| Output voltage rating | 12V DC |
| Output current rating | 1 Amps |
| Output connector | DC power plug, 2.1mm centre positive |
PC requirements
Capturing video requires a lot of computing power, we therefore recommend using the fastest PC possible. We suggest a separate hard disk for the temporary capture file as Windows will regularly write to the systems hard disk which can interrupt the video stream. Preferably the hard disk should be a modern SSD or a hard disk specified for media.
- If you want to use file compression then you will need a faster processor, we recommend an Intel i7 or equivalent.
- More memory is always recommended as Windows relies less on the system hard disk for swapping ‘in use’ program code and data. We advise at least 6GB.
- The camera must connect to the PC via USB2 port. This should be a port on the PC and not on a hub else the data path has to be shared and may not be adequate.
- If one or more components of the PC are not of a high enough specification then you will be limited to a lower capture rate/image size.
- Recommended minimum spec: Intel i7 or equivalent, SSD hard disk, 6GB memory or more, 2 or more USB2 ports (do not use a hub / USB expander).
*Subject to change from the supplying manufacturer.